Although people have been enjoying chocolate for thousands of years, there have been many changes to how chocolate is made.
The way that cacao is grown and harvested today is little-changed from the days of the ancient Maya and Aztec. But modern technological advances have made it possible to process those beans into a rich assortment of affordable, flavorful chocolate treats that the original chocolate-makers could never have dreamed of.
Advertisement
Once chocolate arrived in Europe, its popularity only grew, as did the demand for the exotic beans from which it is made. Eventually, the craving for chocolate outgrew the ability of Mesoamerican sources to supply enough beans. So, to guarantee a sufficient, steady, inexpensive supply of cacao, the Europeans began establishing their own cacao-tree plantations in their colonies in the tropics: the British in Ceylon; the Dutch in Venezuela, Sumatra, and Java; and the French in the West Indies.
Today, very few of those large cacao plantations survive, mainly because chocolate-growers discovered that cacao trees are far more productive and hardy (without the use of expensive pesticides and chemical fertilizers) when grown in more natural surroundings and on a smaller scale that allows for more careful, hands-on tending. That's not really surprising, however, because cacao trees are quite delicate. They do well only under very specific temperature and moisture conditions (the cacao tree can only be grown in consistently hot and rainy areas within 20 degrees north or south of the equator), they require intensive cultivation, and their pods must be harvested by hand.
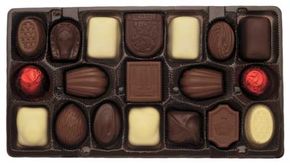
It is only when the cacao beans arrive at chocolate factories that technology can take over. Modern machinery and production methods, developed in the past 200 years, allow cacao beans to be processed into cocoa powder and all the other forms of baking, eating, or decorating chocolates that are available today.
Chocolate production begins on the farm. Keep reading to learn how chocolate is grown.